

A safer heat-styling routine has five controls: condition the hair, apply heat protectant evenly, use the lowest setting that achieves the style, limit contact and repeated passes, and reduce how often high heat is used.
Heat protectant matters, but it is not a force field. The best routine combines product coverage with good tool technique. If the hair is already rough, breaking or difficult to manage, more heat is rarely the first answer.
The quick routine
- Shampoo and condition according to your hair and scalp needs.
- Blot gently instead of rough towel-rubbing.
- Apply leave-in support if needed.
- Apply verified heat protectant evenly through sections.
- Detangle with a method suited to your texture.
- For a blow-dry, begin on damp, towel-blotted hair and use controlled airflow.
- For a flat iron or curling tool, make sure the hair is dry.
- Start lower, increase only if the style genuinely requires it and limit passes.
- Let the style cool before brushing or adding a finishing product.
- Use a small amount of finishing oil only if the dry ends need polish.
Why technique matters as much as product
Heat exposure is not defined by temperature alone. A lower setting held on one section for too long can still be harsh. Repeatedly passing an iron over the same area adds more exposure. Dirty tool plates, uneven section sizes and styling hair that is still wet can also work against the routine.
Think in four variables:
- temperature: the setting selected on the tool;
- time: how long the heat stays in contact;
- passes: how many times the same section is reheated;
- frequency: how often the routine is repeated.
Heat protectant supports the routine. It does not cancel these variables.
Step 1: Begin with clean, conditioned hair

Oil, dry shampoo and styling residue can affect how evenly hair dries and how the tool moves. Cleanse when the scalp and routine need it, concentrating shampoo mainly at the roots.
Follow with a rinse-out conditioner. Conditioner supports slip and manageability, which can reduce rough detangling before styling. Use a mask only on the wash days that need it and follow that mask's exact directions.
If a recent colour, keratin, Hair Botox, rebonding or extension service came with aftercare instructions, those instructions take priority.
Step 2: Remove water gently
After rinsing, squeeze out excess water and blot with a soft towel or T-shirt. Do not twist, rub or snap the hair back and forth.
For blow-drying, the hair can remain damp. Allowing it to air-dry partially may shorten blow-dryer exposure when the desired style and texture permit it. For flat irons and curling tools, continue drying until the hair is fully dry.
Wet-hair handling differs by texture. Straight or easily stretched wet hair often benefits from minimal manipulation. Tightly curled or textured hair may be easier to detangle while wet and conditioned. Use the method that reduces pulling for your pattern.
Step 3: Add leave-in support only if needed
A leave-in conditioner can add detangling, softness and styling support. Apply a small amount through damp mid-lengths and ends. Fine or low-density hair may need very little; dense, curly, coily or highly porous hair may need sectioned distribution.
Do not assume every leave-in is a heat protectant. If the package does not make and direct that claim, use a separate verified heat-protection product.
Step 4: Apply heat protectant evenly
Coverage matters more than soaking the surface. Work in sections so the product reaches more than the top layer, concentrating on the mid-lengths and ends where heated tools usually travel.
For Celine Claire Heat Shield Hair Spray:
- Shake before use.
- Apply to clean damp hair before blow-drying, or clean dry hair before a flat iron or curling tool.
- Mist evenly through sections without saturating one spot.
- Distribute with fingers, a suitable brush or a wide-tooth comb.
- Let any visible wetness from the spray dry before a direct-contact iron touches the section.
The exact number of sprays depends on length, density, section size and pump output. Do not invent a universal spray count.
Step 5: Choose the lowest effective setting
The right setting is the lowest one that creates the intended result with controlled technique. Begin lower than your usual setting and assess one hidden section before increasing.
A universal chart based only on “fine,” “normal” or “thick” hair is too simplistic. Colouring, lightening, chemical straightening, weathering, breakage and tool design all change how hair responds. Tool dials also differ.
If a section needs many slow passes at one setting, first reconsider section size, dryness, tension and tool condition. Raising the heat is not the only option.
A safer blow-dry routine
1. Start damp, not dripping
Blot excess water and allow partial air-drying when practical. Very wet hair takes longer to dry, increasing exposure time.
2. Apply and distribute protection
Mist heat protectant through sections. Add a styling product only if the desired finish needs it.
3. Use controlled airflow
Keep the dryer moving rather than holding it against one spot. Use an appropriate nozzle or diffuser and avoid pressing the tool directly onto the hair or scalp.
4. Match tension to the hair
Use enough tension to guide the section, not enough to pull painfully. Fragile or processed hair needs gentler handling.
5. Stop when dry
Continuing to heat a section after it is dry adds exposure without removing more water. Use a cool shot if it supports the style, then move on.
A safer flat-iron routine
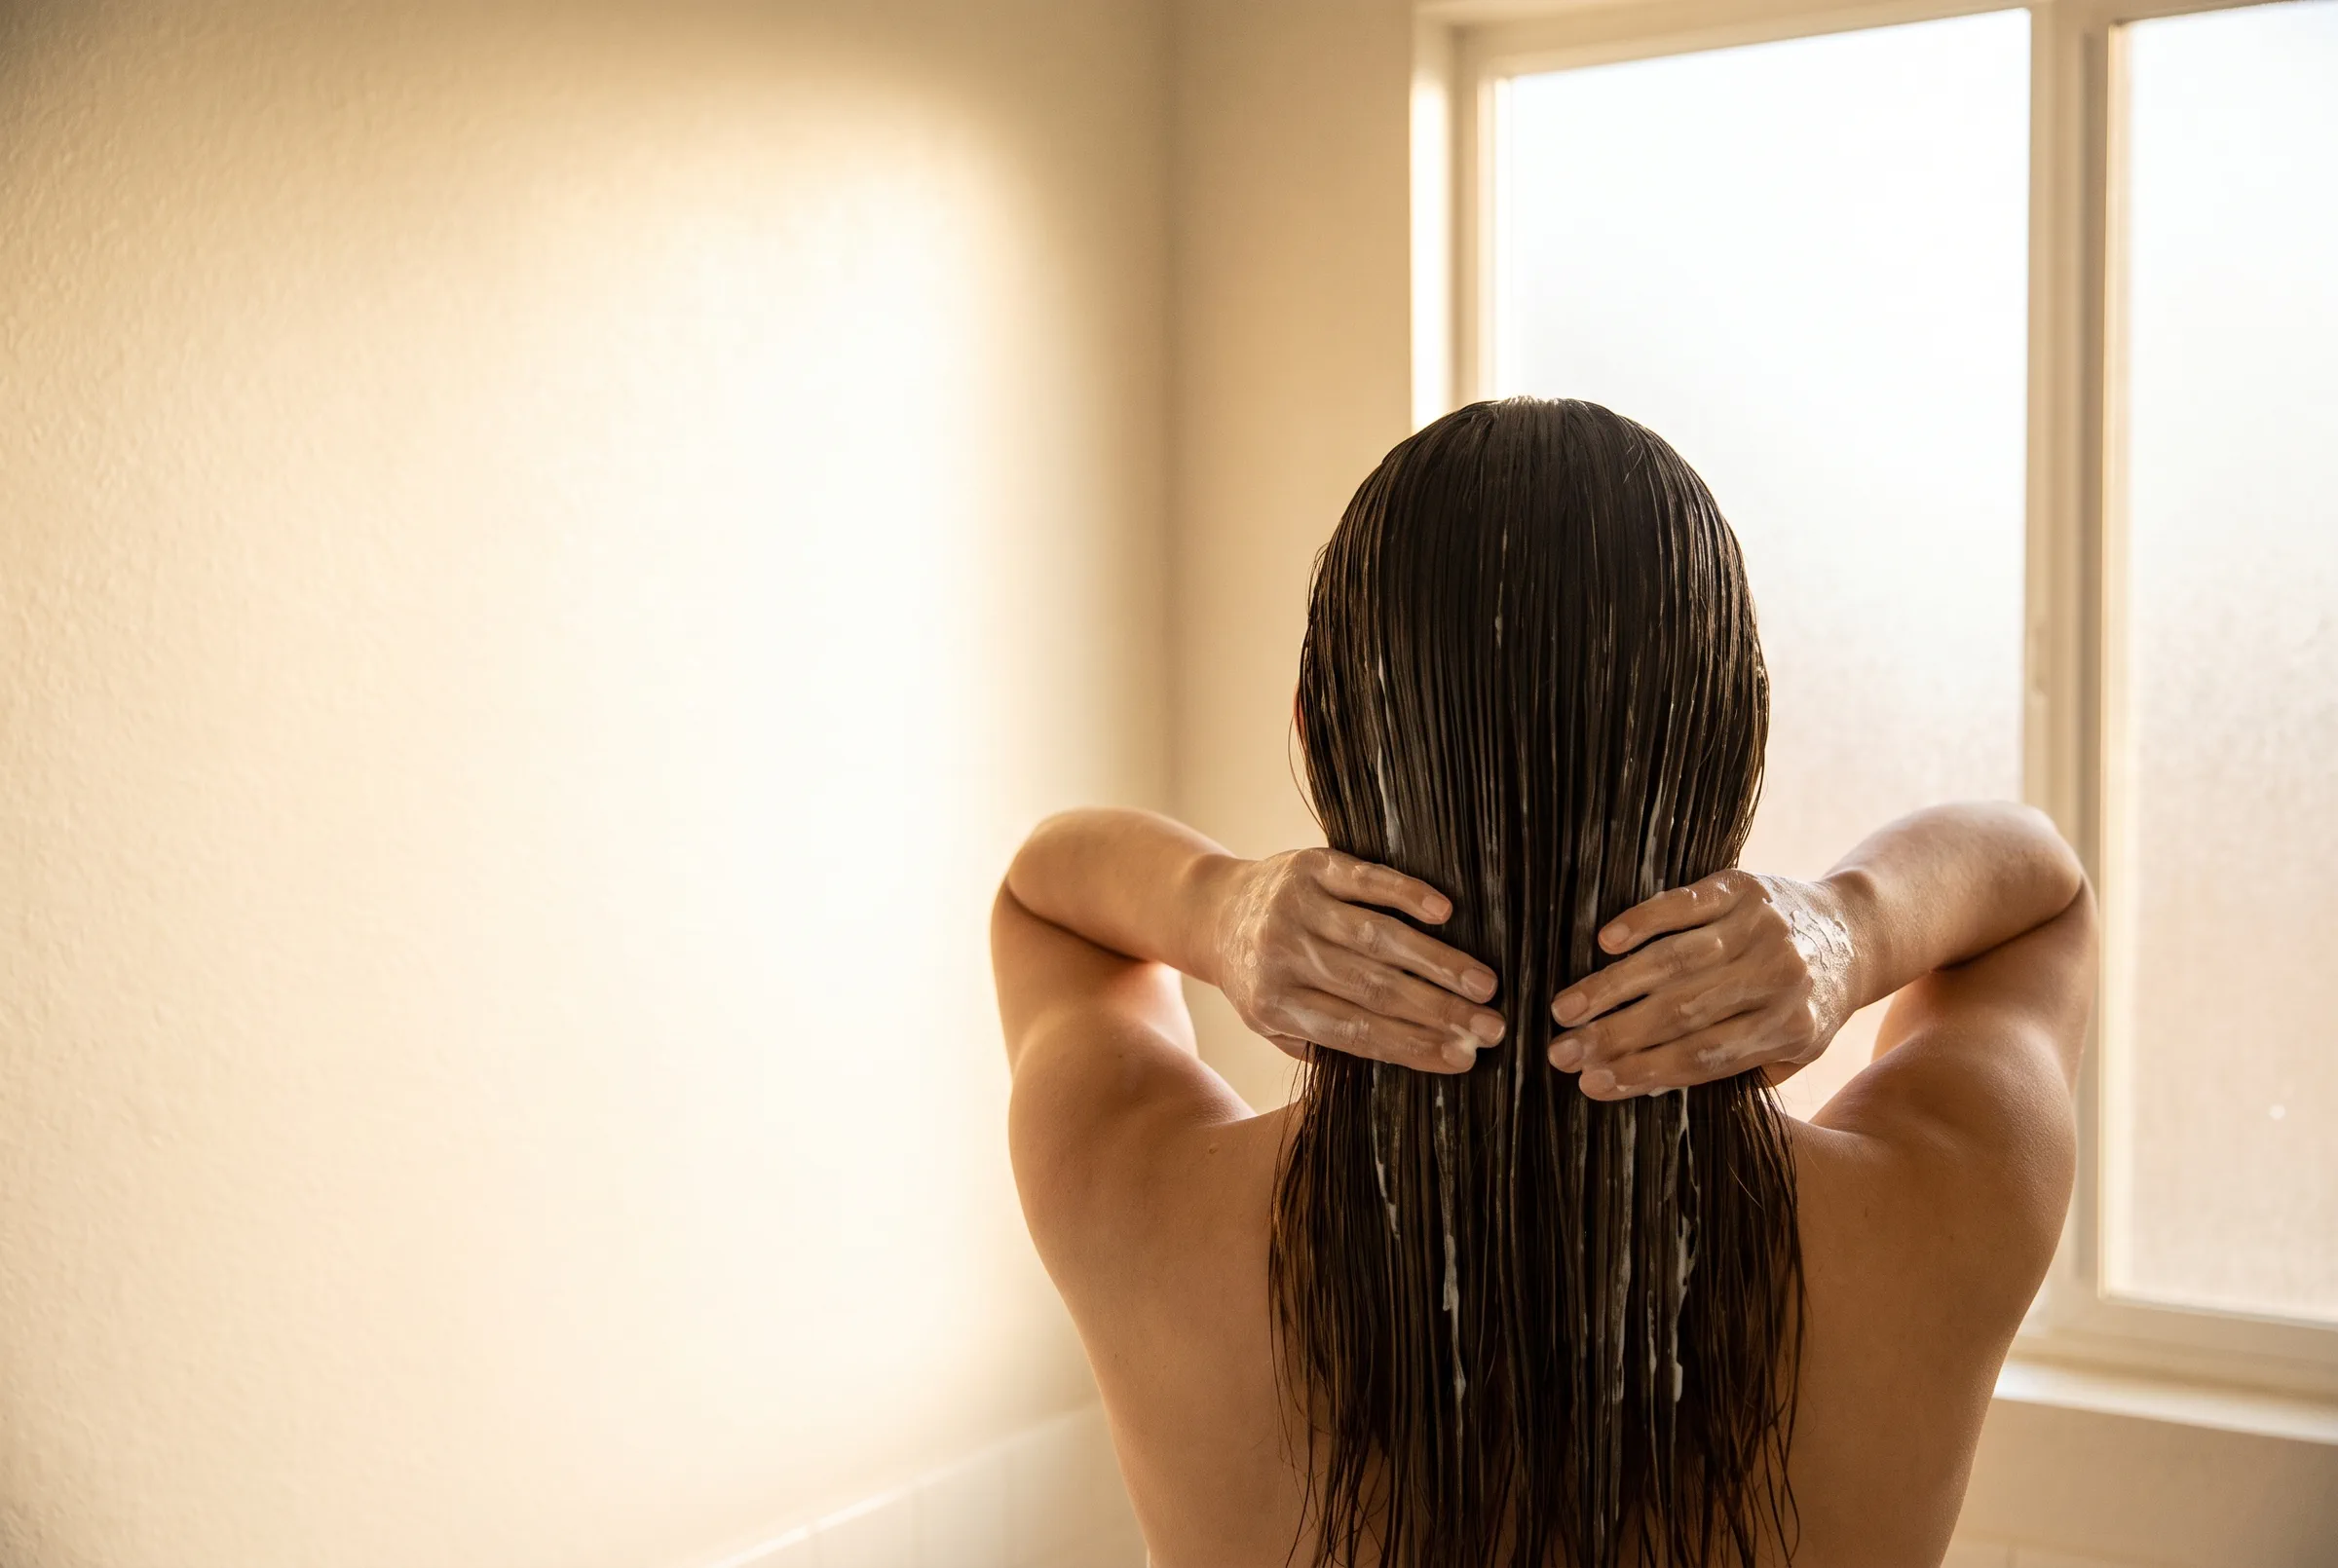
Hair must be dry
Do not clamp a conventional flat iron onto wet or visibly damp hair. If heat protectant adds moisture, let the section dry before the plates touch it.
Use clean, even sections
Sections that are too thick can lead to slow, repeated passes. Sections that are extremely thin can receive unnecessary concentrated heat. Choose a size the plates can contact evenly.
Start low and test
Use a hidden section to check whether the selected setting and one controlled pass produce the result. Increase only when needed.
Limit passes
Avoid chasing one perfectly glassy result through repeated ironing. If the section does not respond, stop and reassess dryness, section size and tool condition.
Keep the tool moving
Do not pause over one point or clamp the ends repeatedly. The oldest ends often need the least repeated exposure.
A safer curling-iron or wand routine
Work on dry hair and apply protection beforehand. Use sections that wrap without overlapping into a thick bundle. Hold for the shortest time that forms the curl, then release instead of reheating immediately.
Let each curl cool before brushing or separating it. Cooling can help the shape settle, reducing the urge to repeat the tool on the same section.
Protect fingers and scalp from the barrel. If the tool lacks a clamp, use the supplied heat glove when appropriate and keep the barrel away from skin.
Diffusing waves, curls and coils
Apply curl leave-in or styler to evenly damp hair, then apply compatible heat protection when it is a separate step. Use a diffuser attachment, controlled airflow and the lowest effective heat.
Cup sections gently rather than pushing and rubbing the diffuser through the pattern. Keep handling low while the cast or curl shape forms. Stop when dry instead of repeatedly reheating areas that are already set.
Air-drying is a useful alternative when time, climate and scalp comfort allow it. It is not mandatory, and leaving the scalp wet for an uncomfortable length of time is not the goal.
Heat styling colour-treated or chemically processed hair
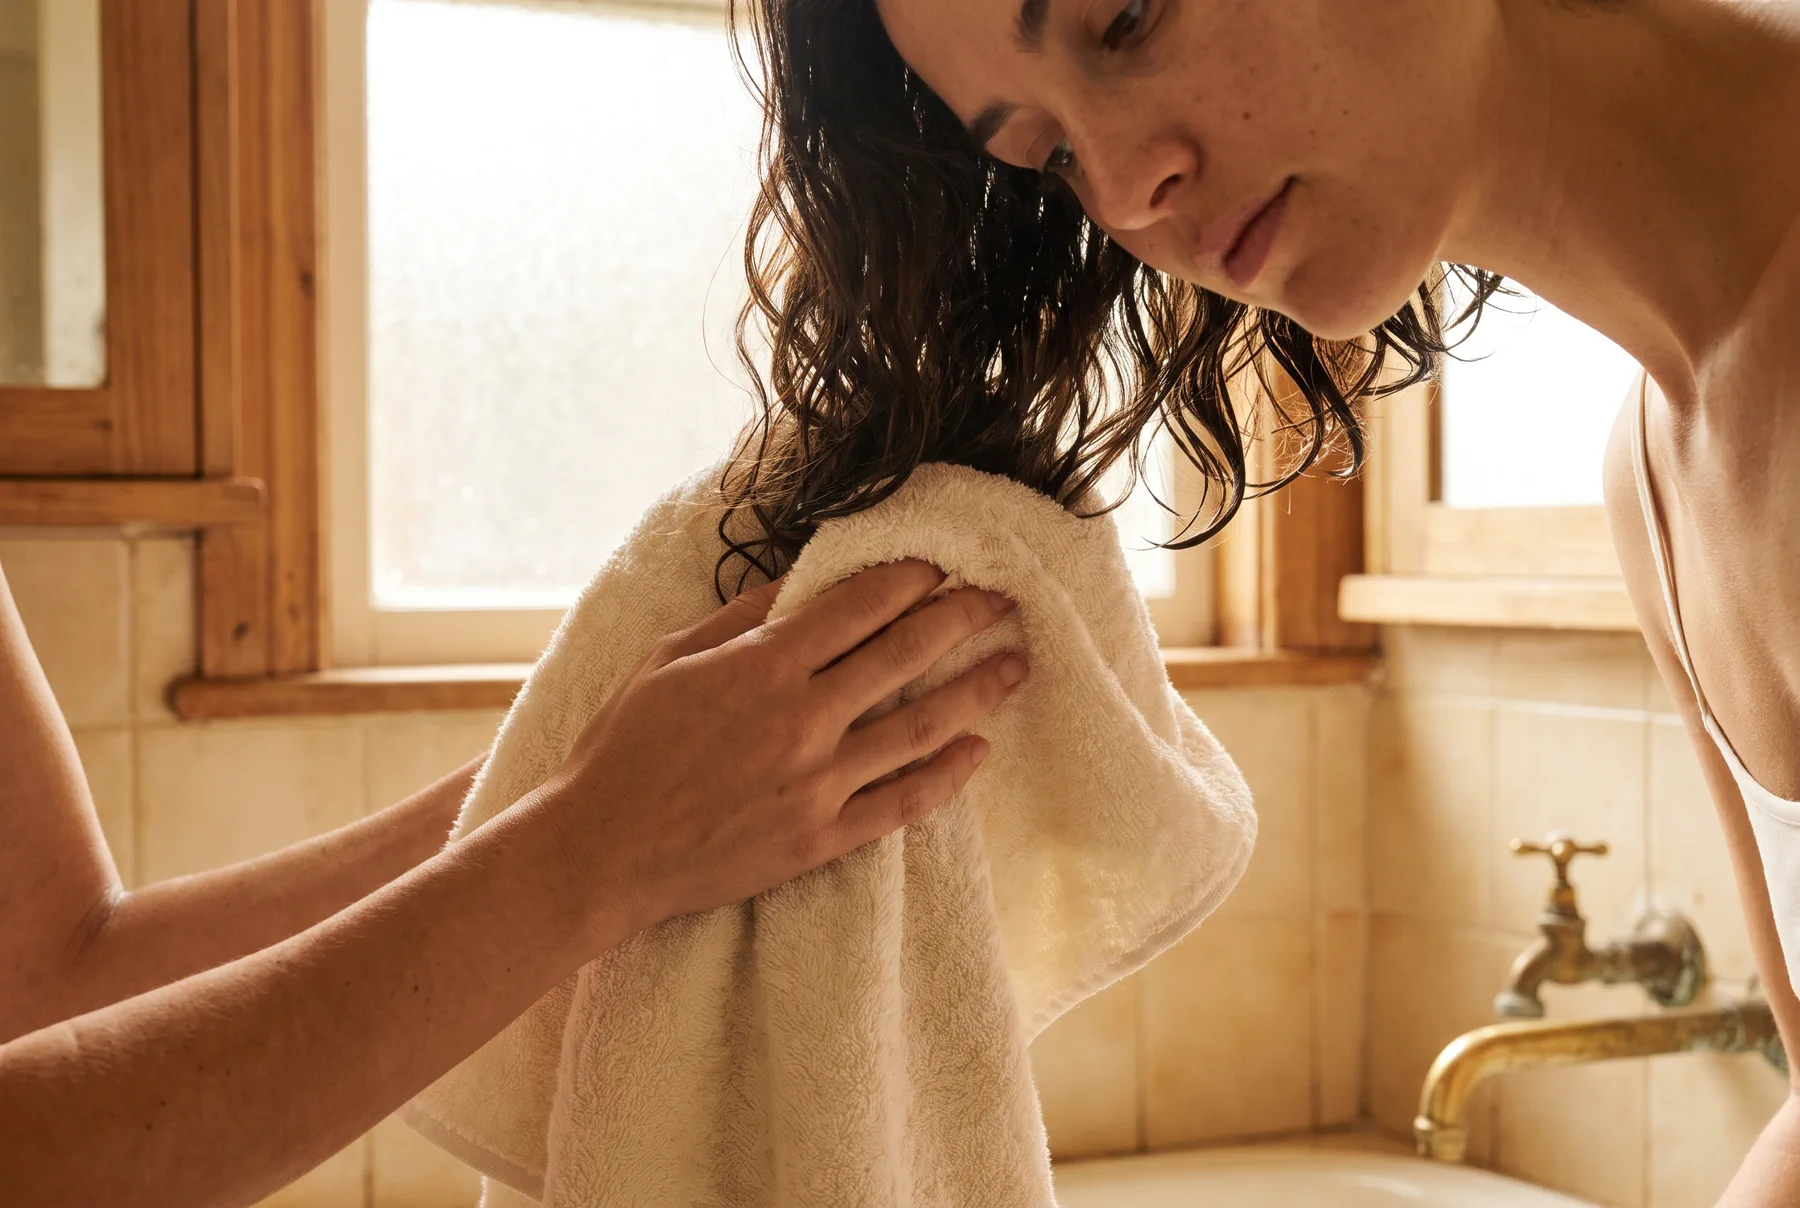
Processed hair deserves a more conservative routine because its condition may be uneven from roots to ends.
- Follow the stylist's waiting period after the service.
- Test lower settings first.
- Use fewer passes on lightened or fragile areas.
- Keep tools away from extension bonds or attachments unless approved.
- Schedule heat-free or lower-heat days.
- Pause when the hair begins snapping, feeling gummy when wet or becoming unusually rigid.
No product can guarantee that colour will never fade or processed hair will never break.
Heat protectant, leave-in conditioner and oil are different
| Product | Main role | Where it fits |
|---|---|---|
| Leave-in conditioner | Detangling, softness and styling support | Damp hair after rinse-out conditioning |
| Heat protectant | Product-specific support before heated styling | Before blow-dryer or iron according to label |
| Finishing oil | Shine, dry-end polish and flyaway control | Usually after styling on dry lengths and ends |
One product may carry more than one verified claim, but never assume the roles from texture or ingredient name alone.
When to reduce heat or stop
Reduce temperature, passes or frequency when the hair becomes rougher after styling, tangles more easily, loses elasticity, develops many short broken pieces or requires more heat to look smooth.
Stop and seek appropriate advice if the scalp is burned, blistered or persistently painful, or if shedding is sudden, patchy or unexplained. A cosmetic routine cannot diagnose or treat those conditions.
Frequently asked questions
Does heat protectant prevent all heat damage?
No. It helps reduce risk when used correctly, but temperature, time, passes, frequency and hair condition still matter.
Should heat protectant go on wet or dry hair?
Follow the product label. Celine Claire Heat Shield Hair Spray is positioned for damp hair before blow-drying and dry hair before straightening or curling.
Can I flat-iron damp hair?
Do not use a conventional direct-contact iron on wet or damp hair. Hair should be dry, including after a wet heat-protection mist.
What temperature should I use?
Use the lowest effective setting and test one section. There is no single safe temperature for every tool, texture and hair condition.
Does Celine Claire Heat Shield protect to 230°C or 446°F?
Do not rely on that number. Exact-product thermal testing is required before a maximum-protection temperature can be promised.
Should I apply oil before heat styling?
Use oil before heat only when the exact product provides verified directions for that method. Otherwise apply a dedicated heat protectant before styling and reserve finishing oil for the dry result.
How many passes should I make with a flat iron?
Use as few controlled passes as possible. If the style requires many repetitions, reassess section size, dryness, setting and tool condition.
Is blow-drying safer than flat ironing?
They expose hair differently. A moving blow-dryer does not clamp hair between hot plates, but high heat held close for a long time can still be harsh. Technique matters for both.
Can I use heat protectant every day?
Follow the label, but remember that product use does not make daily high heat harmless. Reduce heat frequency where practical.
Do I need heat protectant when diffusing?
If the diffuser uses heat, use a compatible heat-protection product according to its directions.
Can I spray heat protectant on extensions?
Celine Claire positions Heat Shield for natural hair and extensions. Follow the extension professional's instructions and keep product away from attachment points unless approved.
Does heat protectant repair existing damage?
It is a preparation step for future styling. It may improve surface feel, but it cannot permanently reverse all existing damage.
Is air-drying always better?
Air-drying reduces hot-tool exposure, but the best method also considers texture, climate, scalp comfort and handling. Avoid leaving hair tangled or roughly manipulated while wet.
What should I do if my hair smells burned?
Stop using the tool, unplug it safely and reassess hair dryness, tool cleanliness and temperature. Do not keep reheating the section.
Is Celine Claire Heat Shield Hair Spray made in Canada?
Celine Claire is a Canadian haircare brand. Manufacturing origin for this SKU should not be stated without current documentation.
Sources
- American Academy of Dermatology, “Hair styling without damage”:
https://www.aad.org/public/diseases/hair-loss/hair-care/styling - American Academy of Dermatology, “Tips for healthy hair”:
https://www.aad.org/public/everyday-care/hair-scalp-care/hair/healthy-hair-tips - McMullen RL, Jachowicz J. Thermal degradation of hair and selected polymer pretreatments, PubMed record:
https://pubmed.ncbi.nlm.nih.gov/21635854/ - Celine Claire Heat Shield Hair Spray product master and live product:
https://celineclaire.com/product/heat-shield-hair-spray/